
Style reference. Size, materials and printing are customized for your order.
Custom Standing Tent Cards
Folded card panels create a freestanding display. Plan each visible side in its assembled reading direction.
- Style reference
- E61565
- Structure
- Standing tent card
- Dimensions
- Custom size, confirmed for your product
- Material
- Card stock; thickness and surface finish to confirm
Size around your product.
Specify the finished display width and height, standing depth and open-sheet panel widths separately.
- W
- Finished widthLeft-to-right dimension in the agreed reading orientation.
- H
- Finished heightTop-to-bottom dimension in the same reading orientation.
Specify the finished display width and height, standing depth and open-sheet panel widths separately.
Add your target size
Your values appear on the diagram and in your inquiry. The reference drawing stays at its original proportions.
Design for the finished product.
Lay out the two display faces for their opposite reading directions and keep the base join clear.
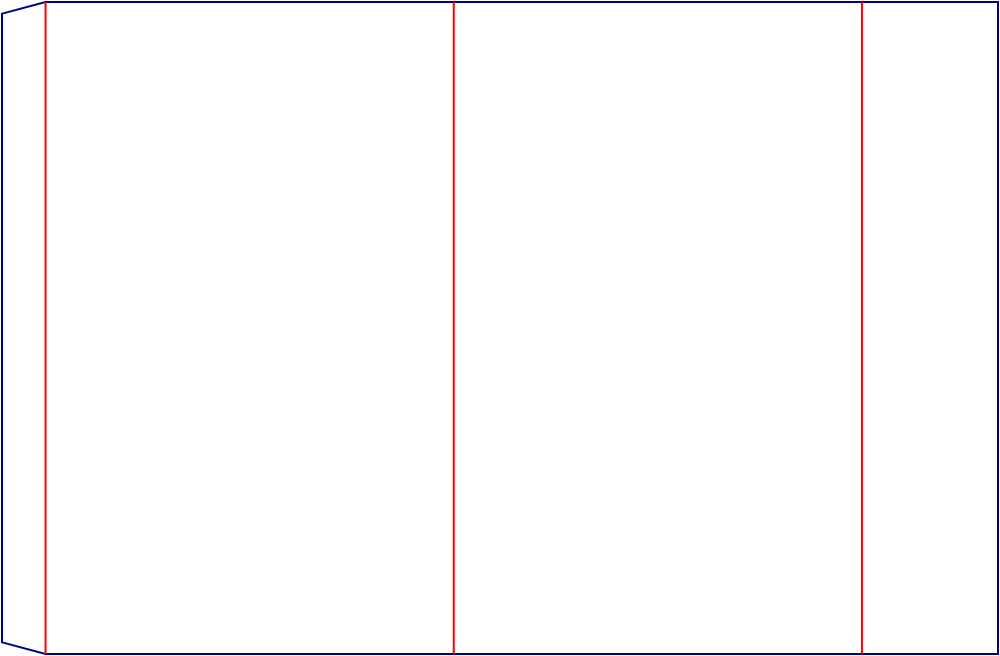
First display face.
Lay out the two display faces for their opposite reading directions and keep the base join clear.
Opposite face.
Lay out the two display faces for their opposite reading directions and keep the base join clear.
Base join.
Specify the finished display width and height, standing depth and open-sheet panel widths separately.
- Lay out the two display faces for their opposite reading directions and keep the base join clear.
Prepare artwork on the approved production artwork template at final size. Confirm bleed, print sides and safe margins before printing.
Request a production artwork templateTry your artwork on this reference
Select an area on the reference, add text or your logo, then adjust its direction and repeat pattern. Download a placement preview to include with your inquiry.
No target size added. Add your dimensions to include them in the preview.
Use the position fields as an alternative to dragging. Values are percentages of this reference image.
Loading the reference…
A placement concept, not a print-ready file. Confirm print sides, cutouts, glue areas and safe margins on your production layout. Your uploaded image stays in this browser.
- Keep the layers separate.
Place the artwork template on its own reference layer. Keep it out of the printed artwork unless your production file instructions say otherwise.
- Check the reading direction.
Review logos and text in the finished orientation. Carry patterns across folds only after checking their alignment.
- Approve a physical reference.
Use the appropriate sample to check fit, opening and print position before confirming production.
Request a quote for this style.
Send your dimensions, quantity and artwork requirements for style E61565.
- Target size and measurement basis
- Quantity, product details and intended use
- Logo, artwork and finishing ideas
Need to check it in hand? Explore sample options ↗
Recommended sizes & materials for common products.
Choose a starting format for this product type, then confirm it against your content, use and selected construction.
| Product & example size | Suggested width × height per visible display face; standing depth separate | Material to consider | Selection & fit notes |
|---|---|---|---|
| Small desk tentExample project: Short name or message on each visible face |
90 × 55mm · W × H | Card stock; thickness and surface finish to confirm | These are dimensions of one visible face; confirm standing depth and base join separately. |
| Table information tentExample project: Short customer-facing information |
105 × 148mm · W × H | Card stock; thickness and surface finish to confirm | Prepare both visible faces with their assembled reading directions. |
| Wide desk displayExample project: A longer name or short announcement |
150 × 75mm · W × H | Card stock; thickness and surface finish to confirm | Check stability and the folded base connection. |
| Larger table displayExample project: Image and supporting message |
148 × 210mm · W × H | Card stock; thickness and surface finish to confirm | Develop open-sheet panels from the assembled sample. |
These are illustrative design starting points, not stock sizes or measurements of this reference. Confirm material, construction, printing and sample fit before production.
Discuss your size & material