
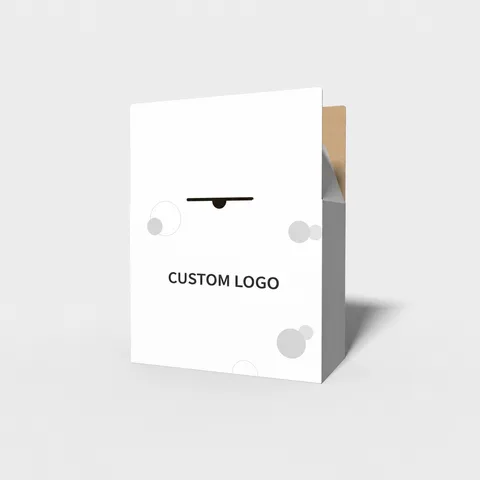
 STYLE E60193
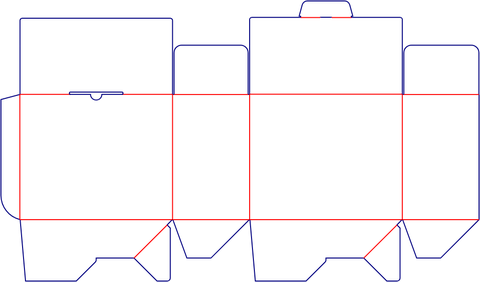 Dieline
Custom Tuck-End Cartons
Tuck-end carton. Include closure clearance at the top and bottom of the packed product.
Explore this structure
STYLE E60193
Dieline
Tuck-end carton. Include closure clearance at the top and bottom of the packed product.
Explore this structure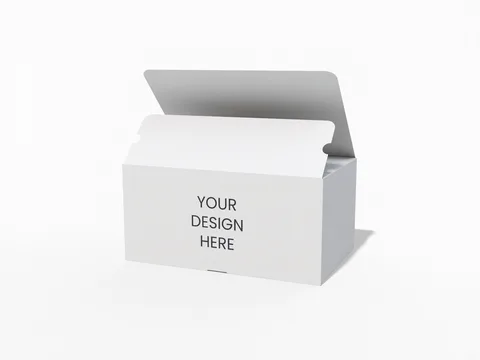 STYLE E60194
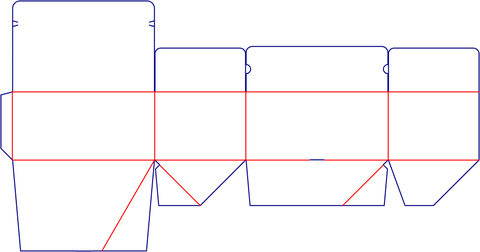 Dieline
Folding carton. Check the full packed outline and the space used by the end closures.
Explore this structure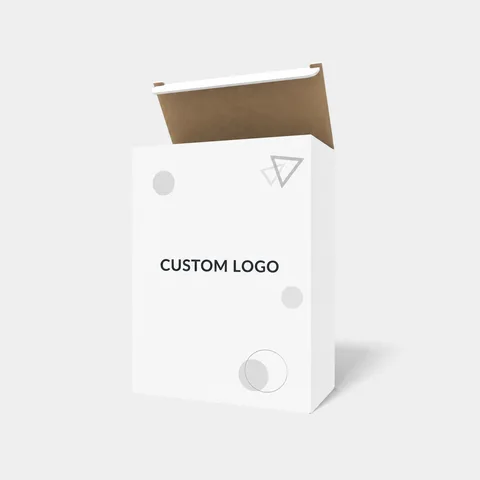 STYLE E60195
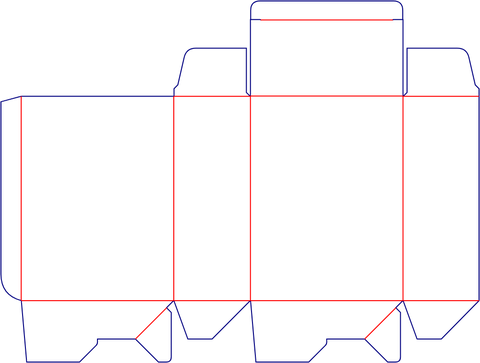 Dieline
Auto-lock bottom carton with rear opening, auto-lock base. Orient the rear opening separately from the main display face.
Explore this structure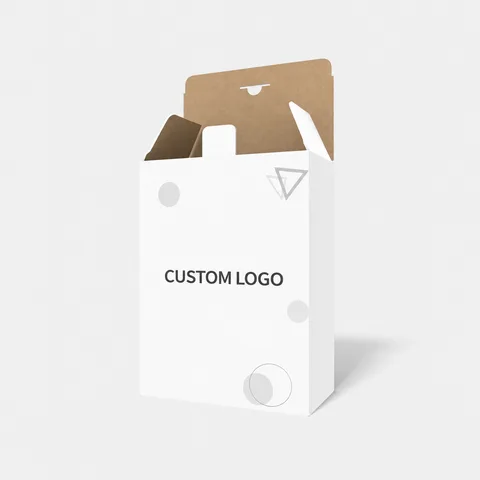 STYLE E60196
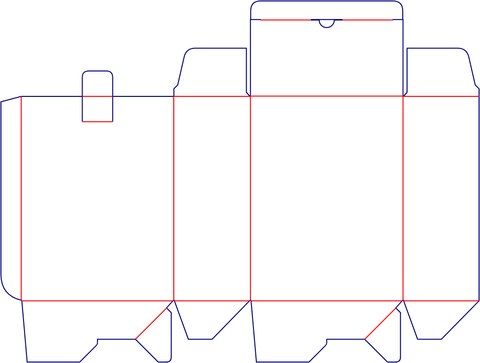 Dieline
Folding carton with rear opening. Orient the rear opening separately from the main display face.
Explore this structure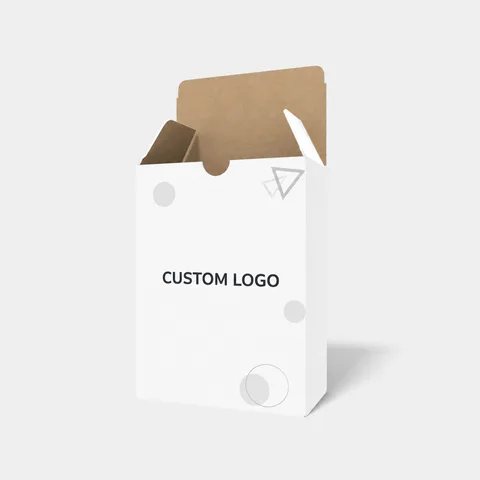 STYLE E60197
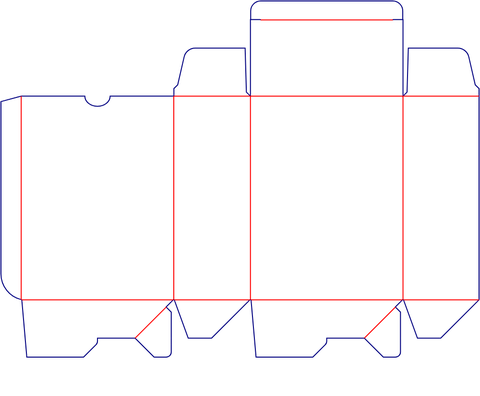 Dieline
Auto-lock bottom carton with rear opening, auto-lock base. Orient the rear opening separately from the main display face.
Explore this structure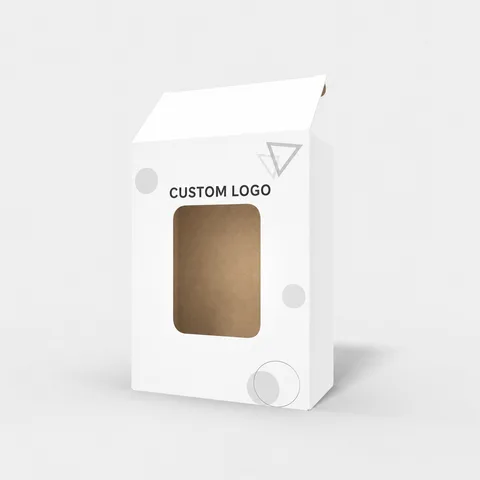 STYLE E60198
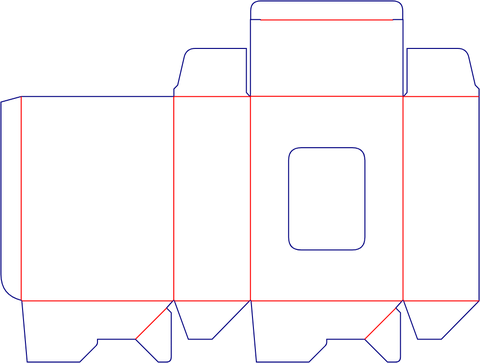 Dieline
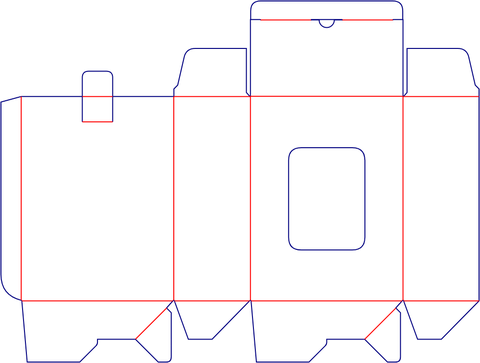
Window carton with display opening, rear opening. Check the product view through the opening before positioning the logo.
Explore this structure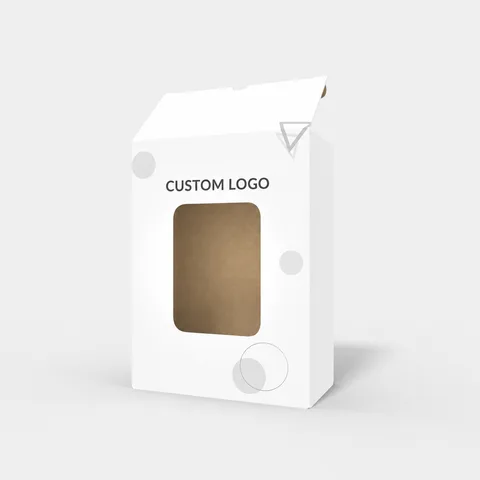 STYLE E60199
 Dieline
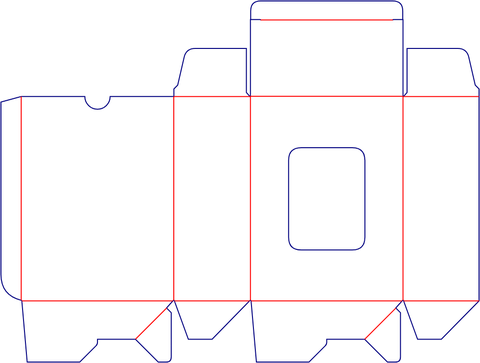
Window carton with display opening, rear opening. Check the product view through the opening before positioning the logo.
Explore this structure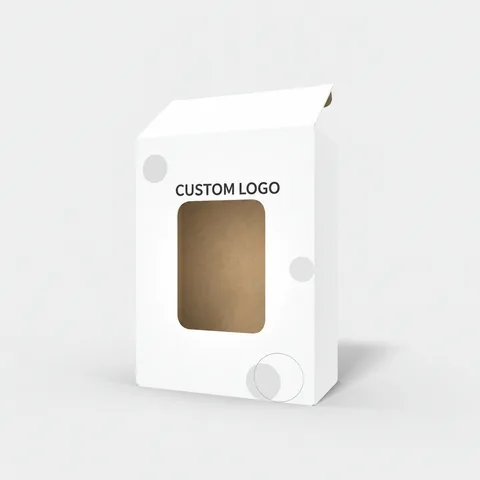 STYLE E60200
 Dieline
Auto-lock bottom carton with auto-lock base, interlocking detail. Check the assembled base before finalising the usable cavity.
Explore this structure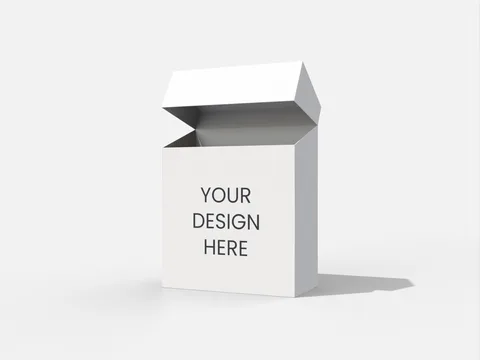 STYLE E60201
 Dieline
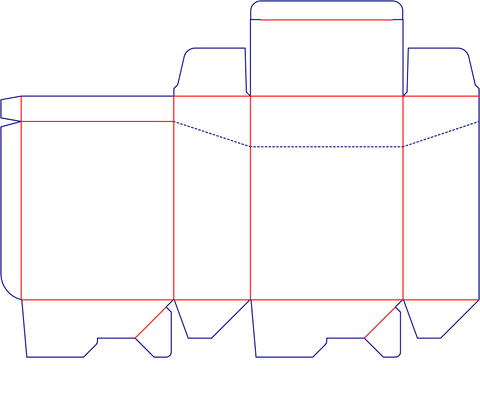
Tuck-end carton with tear strip. Keep the tear strip clear of essential text and check its opening path on the sample.
Explore this structure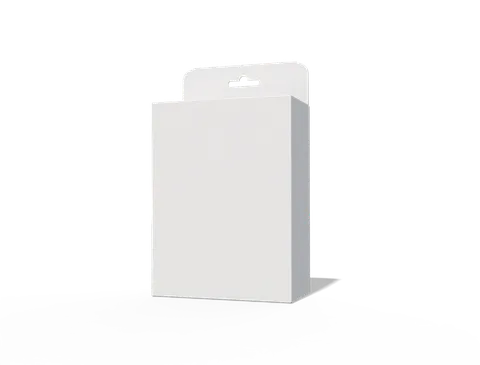 STYLE E60202
 Dieline
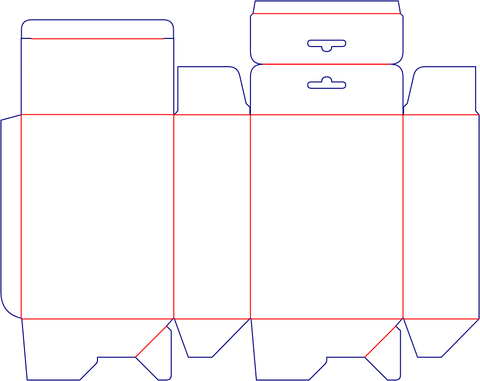
Auto-lock bottom carton with hanging feature, auto-lock base. Confirm the attachment opening and keep nearby text clear.
Explore this structure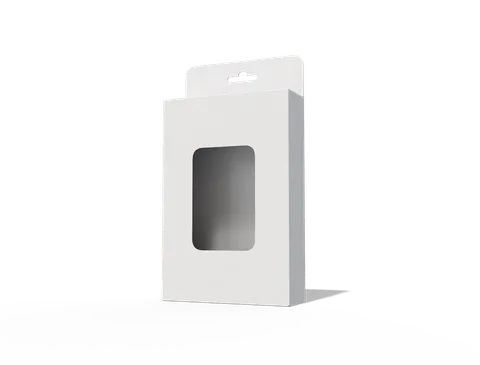 STYLE E60203
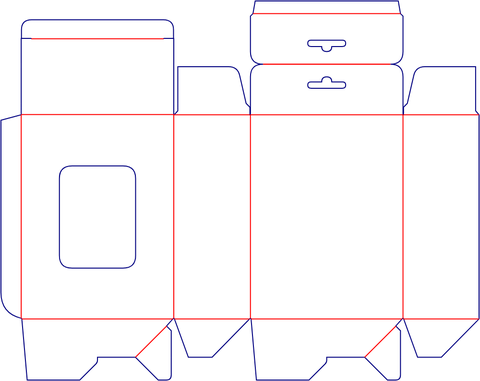 Dieline
Auto-lock bottom carton with auto-lock base. Check the assembled base before finalising the usable cavity.
Explore this structure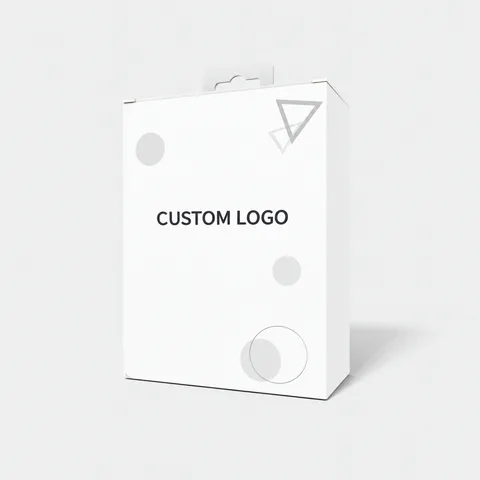 STYLE E60204
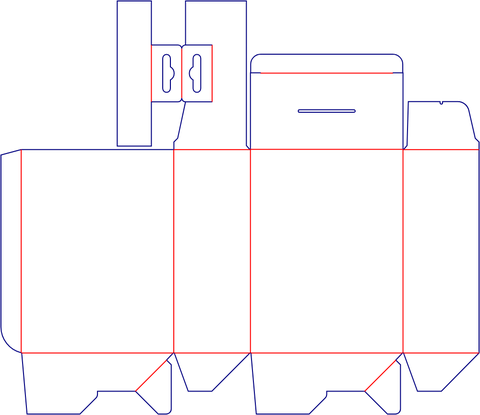 Dieline
Tuck-end carton. Include closure clearance at the top and bottom of the packed product.
Explore this structureTry another name or style number, or browse all product types.
Compare the assembled reference with the flat structure.
Review dimensions, visible panels and artwork orientation.
Confirm the production dieline and sample before approval.