
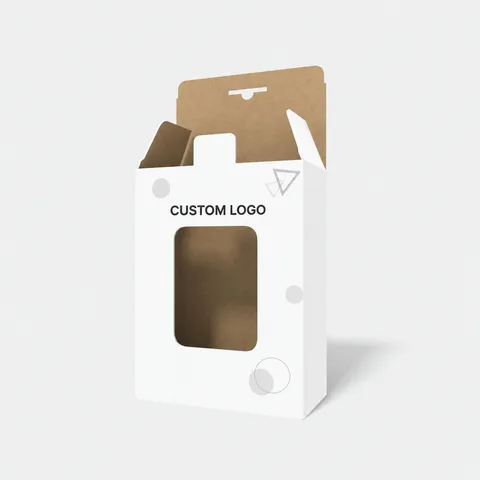
 STYLE E60097
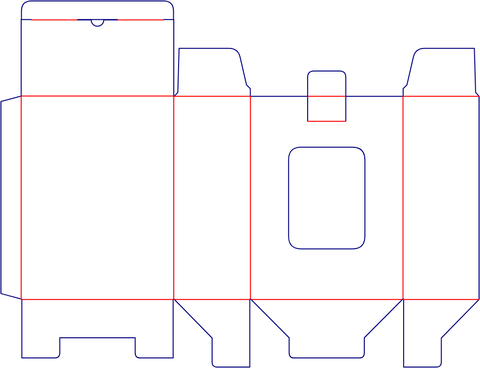 Dieline
Custom Auto-Lock Bottom Cartons
Auto-lock bottom carton with auto-lock base. Check the assembled base before finalising the usable cavity.
Explore this structure
STYLE E60097
Dieline
Auto-lock bottom carton with auto-lock base. Check the assembled base before finalising the usable cavity.
Explore this structure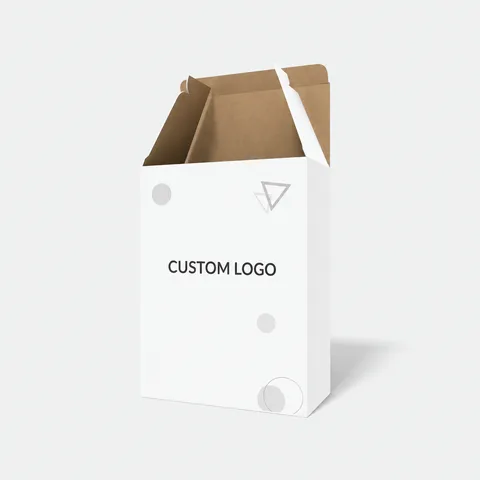 STYLE E60098
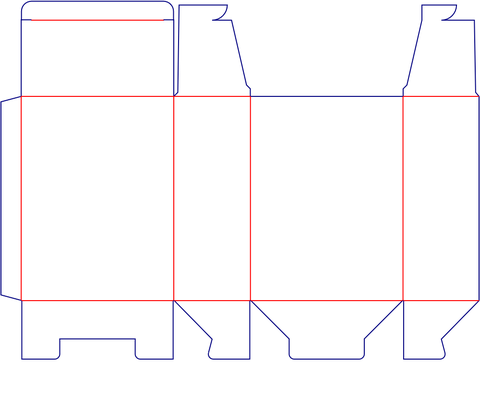 Dieline
Tuck-end carton with interlocking detail. Review how the named locking detail overlaps the printed panels.
Explore this structure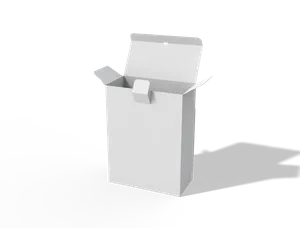 STYLE E60099
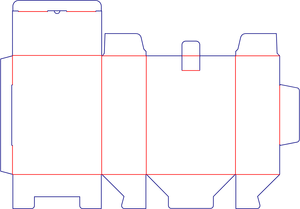 Dieline
Tuck-end carton. Include closure clearance at the top and bottom of the packed product.
Explore this structure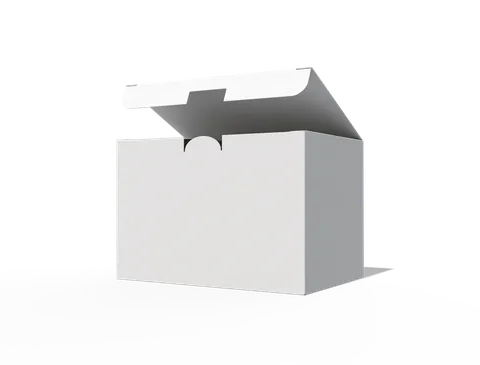 STYLE E60100
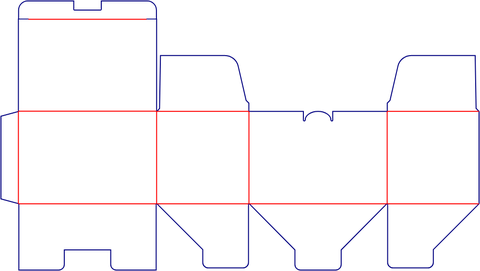 Dieline
Tuck-end carton. Include closure clearance at the top and bottom of the packed product.
Explore this structure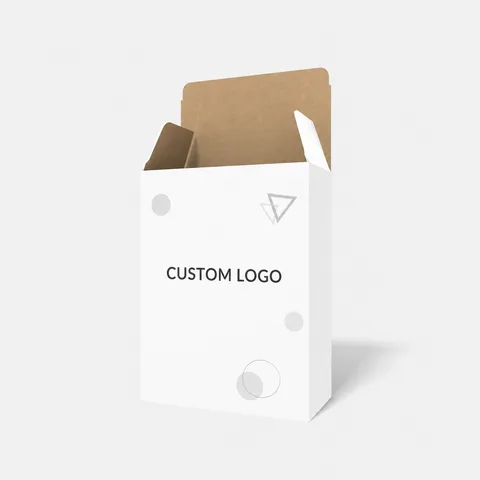 STYLE E60101
 Dieline
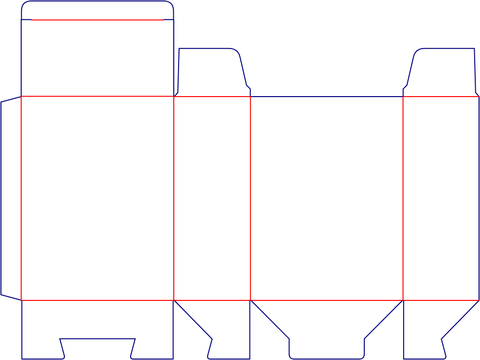
Tuck-end carton. Include closure clearance at the top and bottom of the packed product.
Explore this structure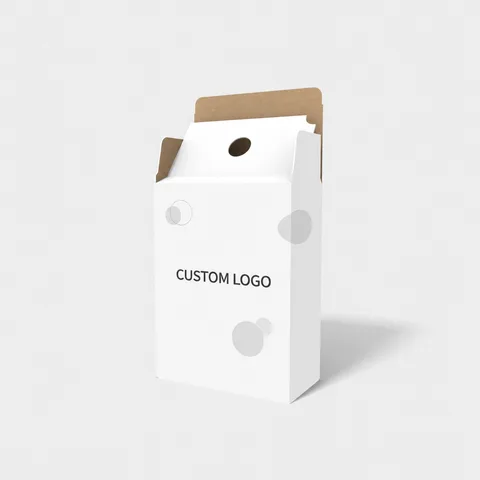 STYLE E60102
 Dieline
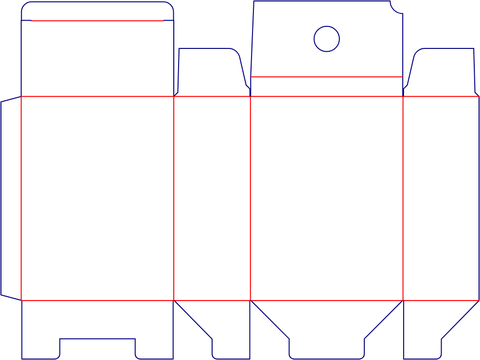
Auto-lock bottom carton with auto-lock base. Check the assembled base before finalising the usable cavity.
Explore this structure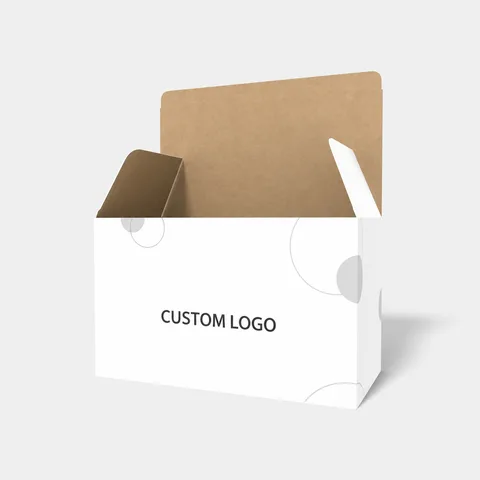 STYLE E60103
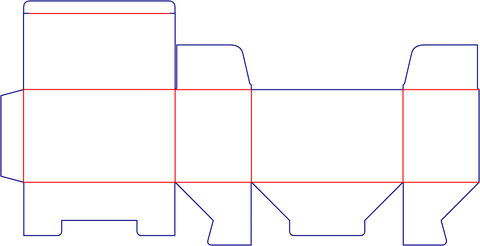 Dieline
Tuck-end carton. Include closure clearance at the top and bottom of the packed product.
Explore this structure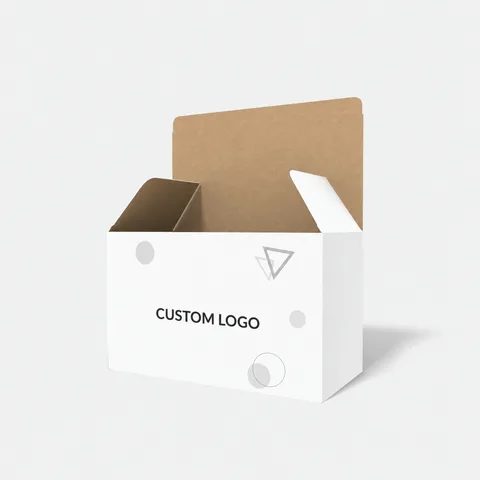 STYLE E60104
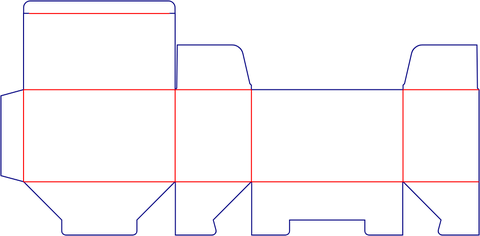 Dieline
Auto-lock bottom carton with auto-lock base. Check the assembled base before finalising the usable cavity.
Explore this structure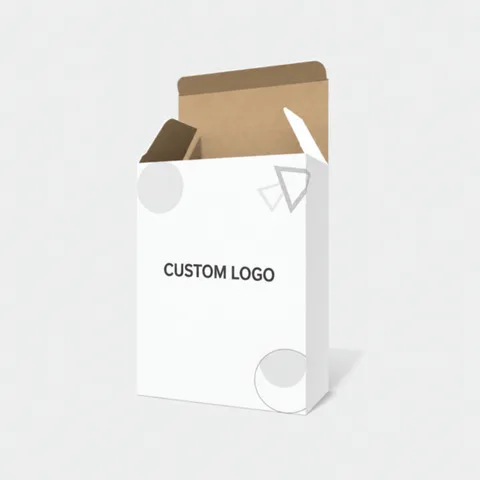 STYLE E60105
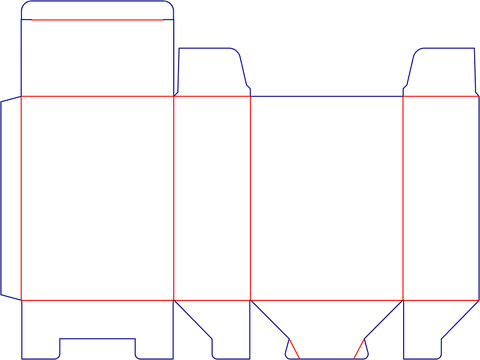 Dieline
Tuck-top carton with locking base. Confirm usable height above the assembled base, the base assembly sequence and top tuck clearance.
Explore this structure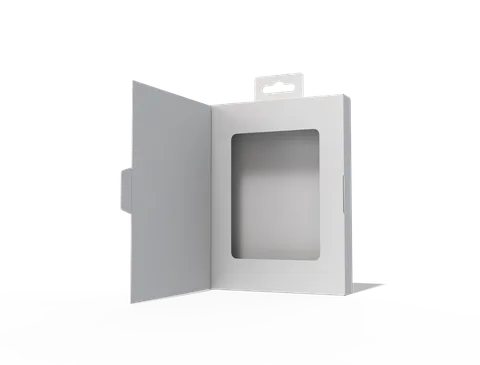 STYLE E60106
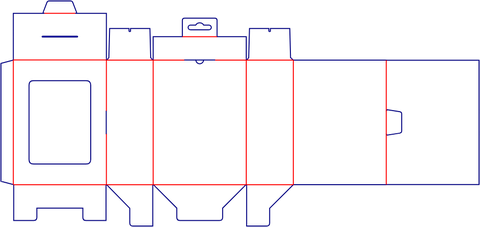 Dieline
Window carton with hinged outer cover. Confirm the packed cavity, cover sweep, window view and clearance around the hanging extension.
Explore this structure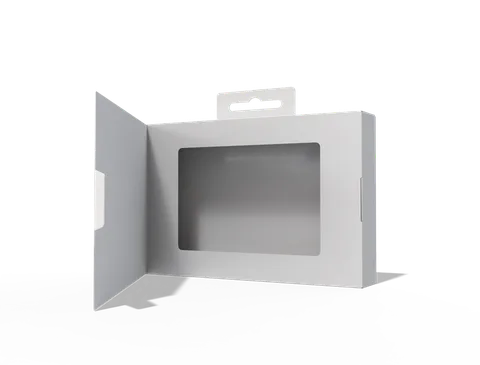 STYLE E60107
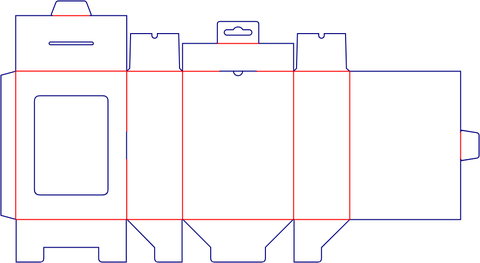 Dieline
Window carton with hinged outer cover. Confirm the packed cavity, cover sweep, window view and clearance around the hanging extension.
Explore this structure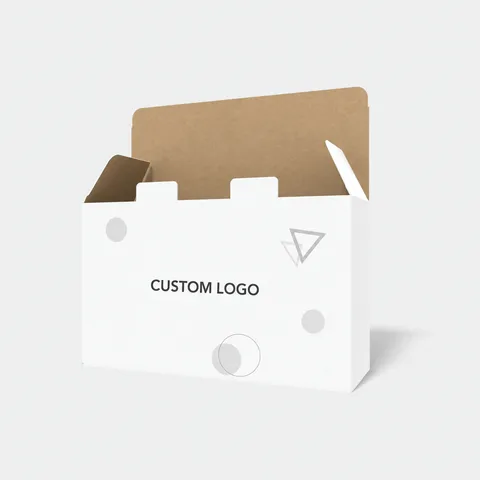 STYLE E60108
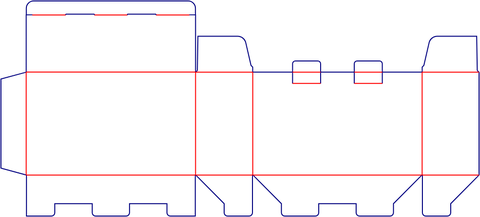 Dieline
Tuck-end carton with double locking tabs. Check both locking tabs against their receiving cuts before placing nearby artwork.
Explore this structureTry another name or style number, or browse all product types.
Compare the assembled reference with the flat structure.
Review dimensions, visible panels and artwork orientation.
Confirm the production dieline and sample before approval.