
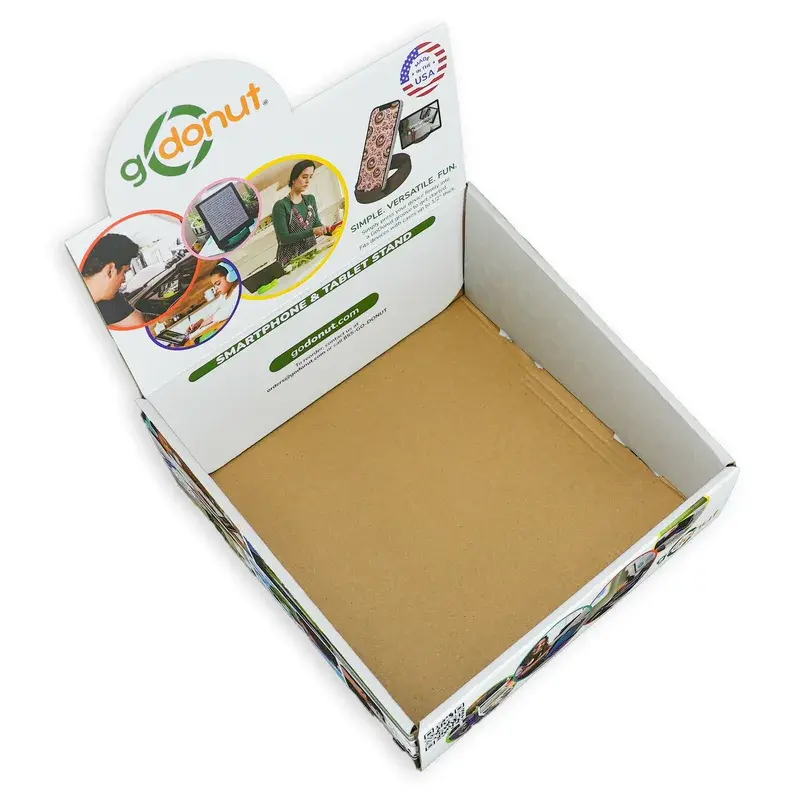
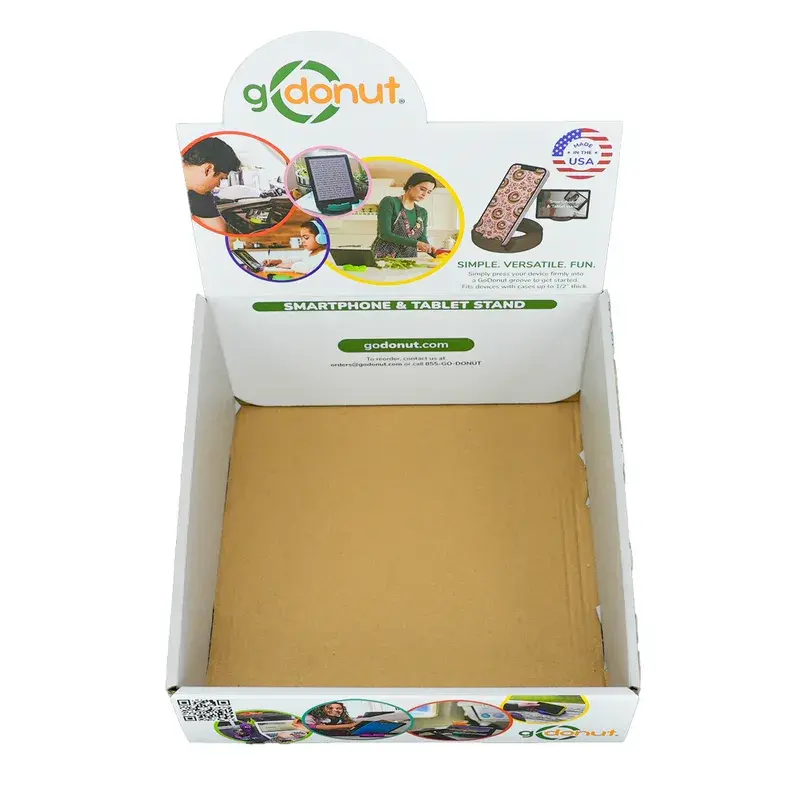
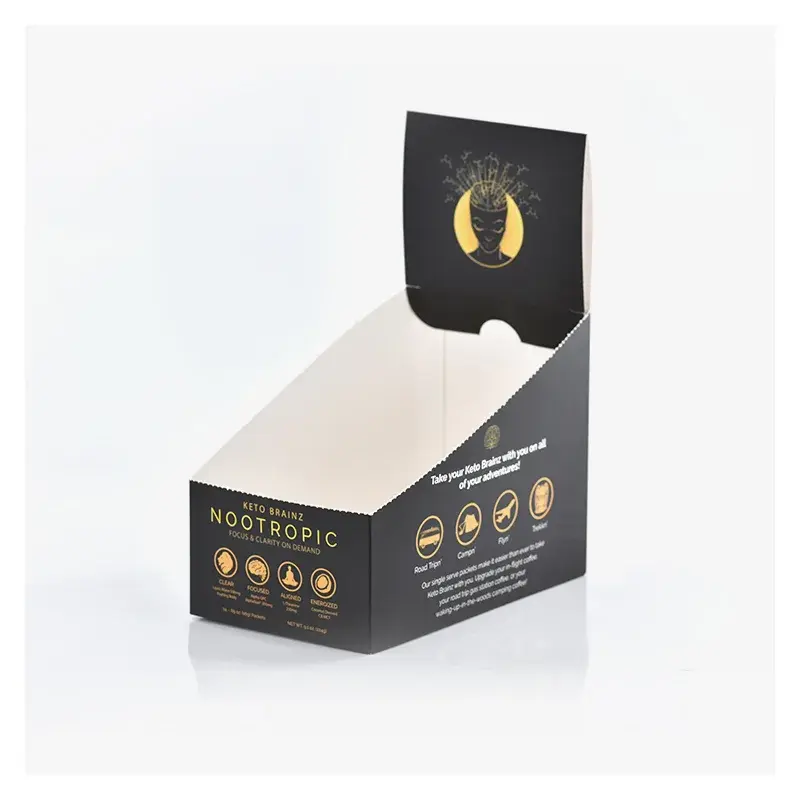
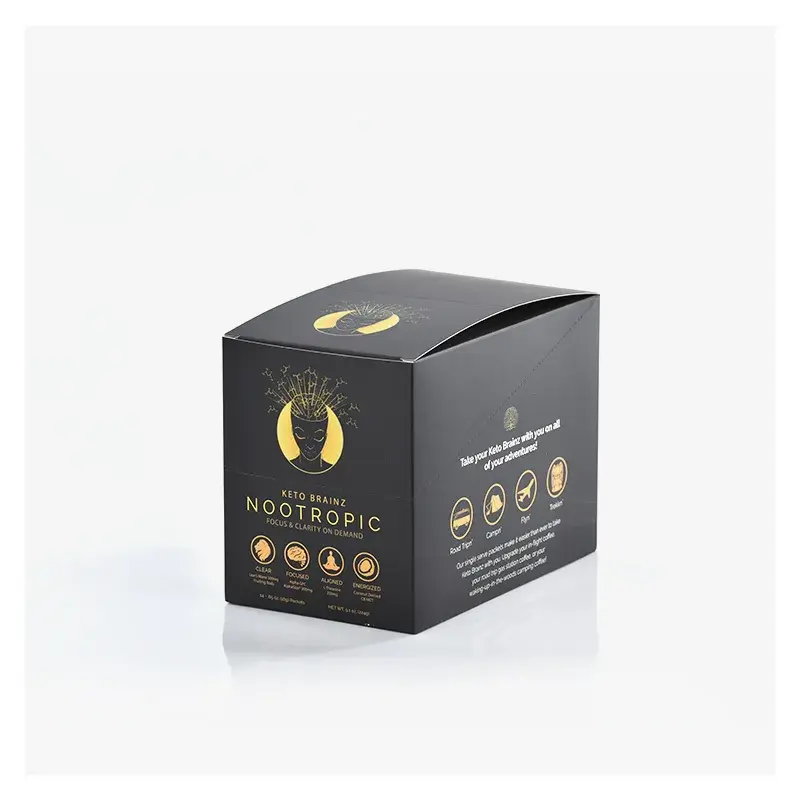
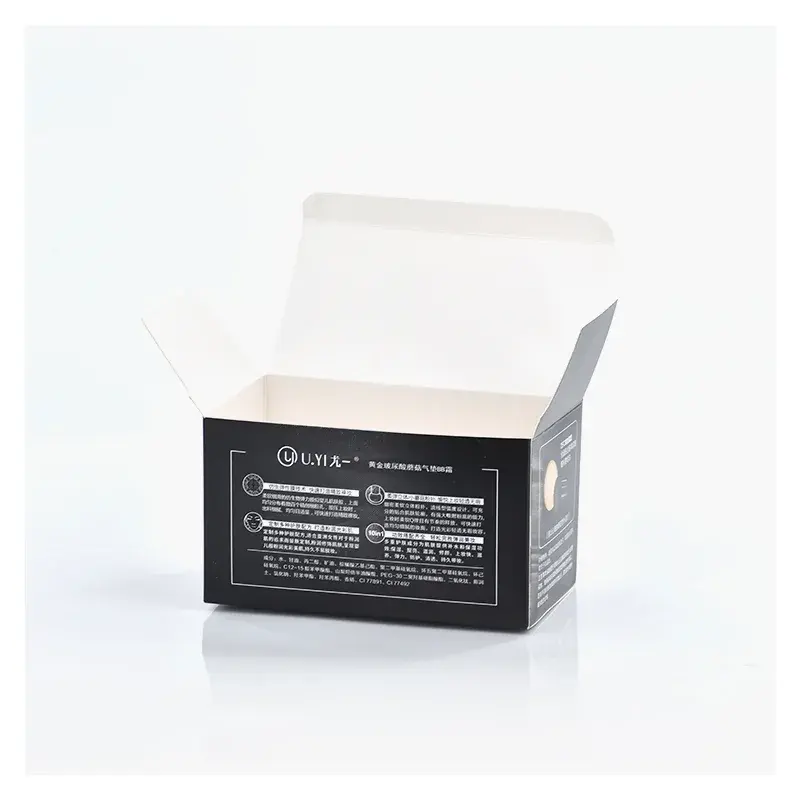
Custom Counter Display Boxes
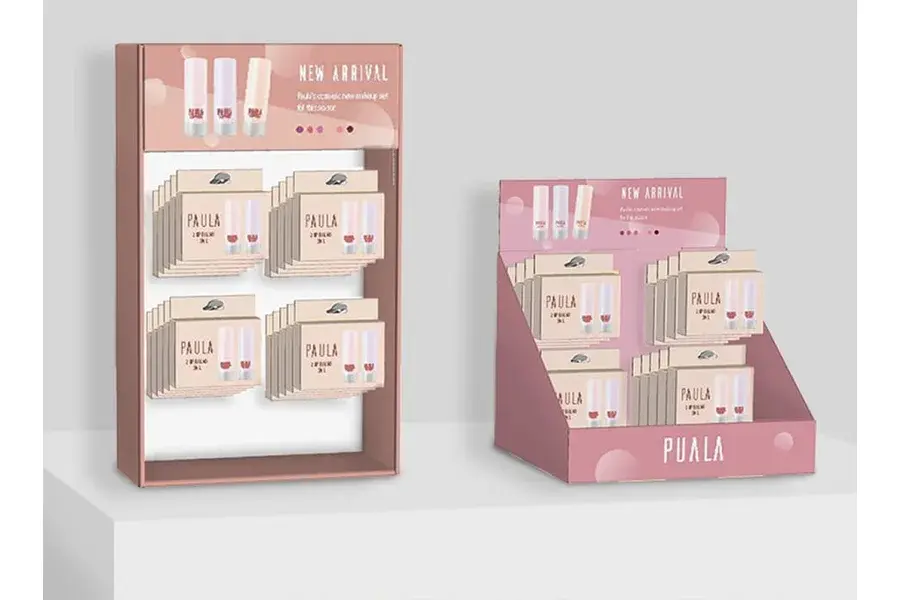
Counter displays position multiple products on a counter or shelf. Walls, headers and product positions are planned around visibility and access.
Standard MOQ: 500 pcs per style, size and artwork. Higher quantities may apply to special specifications. Sample timing and production timing are quoted for the project.
Specification for Counter Display Boxes
| Specification | Project input |
|---|---|
| Product and pack dimensions | Provide the sale unit dimensions and the packaging that will sit on the display. |
| Layout and quantity | Specify the number of units and their facing, row and shelf arrangement. |
| Load per position | State the intended load at each support point and the complete display load. |
| Display footprint | Provide available floor or counter space, total height and access restrictions. |
| Assembly and replenishment | Explain store assembly, loading and restocking; trial the sequence with actual products. |
| Quantity | Quantity per style, size and artwork design. Standard MOQ is 500 pieces; higher quantities may apply. |
| Artwork | PDF, AI or CDR artwork where available; JPG/PNG references and Excel specifications can support the brief. Files are reviewed for their intended use. |
| Delivery | Destination, target date and whether packaging should arrive assembled or flat, where applicable. |
Display board and supporting components
The quotation confirms the selected grade and compatible options.
| Material option | Specification and confirmation |
|---|---|
| Corrugated structure | Review the board and reinforcement against the footprint, intended products and replenishment method. Agree load requirements before sampling. |
| Printed facing | Specify the visible panels and colour requirements from the shopper view. Keep assembly and store-handling information on appropriate surfaces. |
| Internal supports and fittings | Identify shelves, dividers, hooks or other components that the chosen display needs. Review them with the complete loaded structure. |
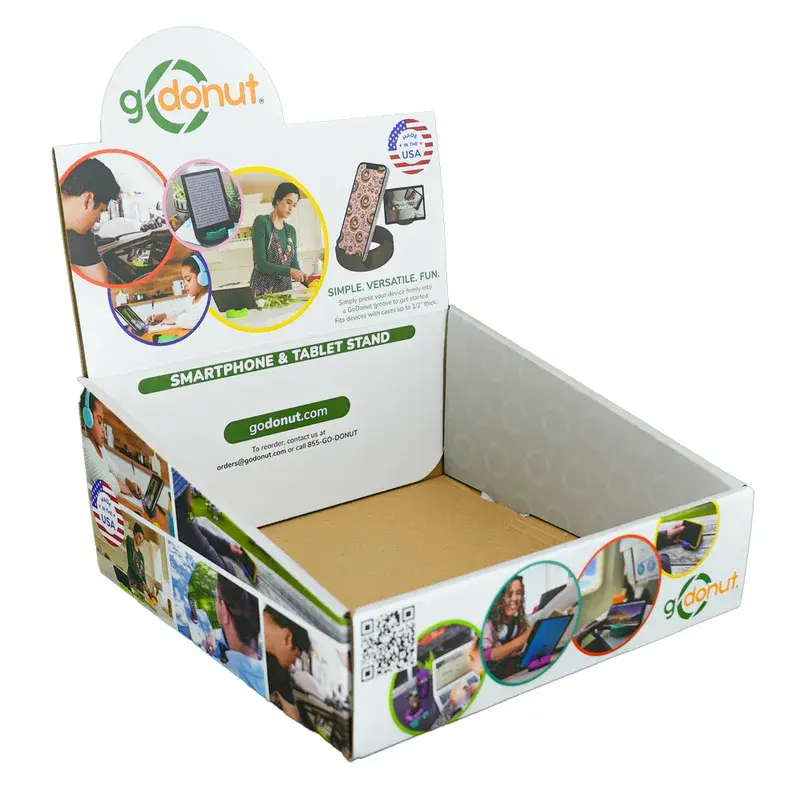
Counter footprint and product facings
Counter footprint, front-wall height and the intended number of product facings.
- Measurement reference: Give units and label product, internal or external dimensions. Include a drawing or reference sample if available.
- Multiple sizes: List quantities by size. A size change may require a revised structure, artwork or sample.
Messages visible above the products
Keep the shopper-facing message visible above and around the loaded products.
| Print preparation | Specification and confirmation |
|---|---|
| Print areas | Mark printed faces, unprinted areas, text and codes. The material and order requirements determine the printing method. |
| Colour reference | Provide CMYK artwork or a Pantone reference where available. Approve colour on the agreed material and sample; screen previews show layout. |
| Files and versions | Send PDF, AI or CDR artwork if available; JPG/PNG references and Excel specifications or data can support the brief. Files are reviewed before production. |
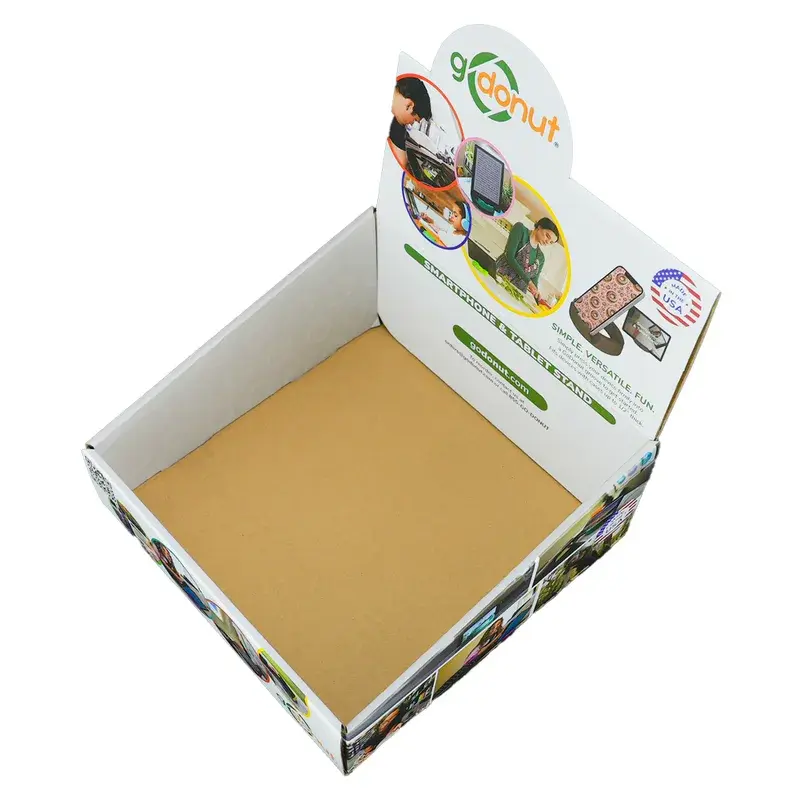
Visible display surfaces
Availability depends on the material, structure and intended use.
- Shopper-facing graphics: Prioritise the product name, brand and purchase message on the visible panels. Check the sightline with products loaded.
- Surface finish: Discuss the appearance and handling conditions in the retail setting. Any treatment must suit the board, folds and assembly.
- Store and replenishment information: Add supplied SKU, orientation or assembly information where staff can use it. Keep it distinct from customer-facing artwork.
Assembly, replenishment and delivery
Coordinate tray depth, header height and the replenishment method. A prepacked PDQ tray needs both a store-ready opening sequence and a transport arrangement.
Choose header shape, internal rows and replenishment access; trial the display at the intended counter height.
- Working layout: Send a drawing, reference or actual product. Identify fixed requirements and options to compare.
- Supply and assembly: Confirm flat, partially assembled or stocked delivery, store assembly steps, outer shipping protection and the receiving-site requirements.
- Component matching: For a multi-part pack, list component sizes, assembly order and which parts the quotation includes.
Sample checks: tray depth, header and replenishment
Load the planned quantity and remove items from the front and back. Check visibility, access and the tray’s support after stock is partly depleted.
- Structural sample: Check dimensions, assembly, fit and opening or application with the actual contents where relevant.
- Printed sample: Check print areas, colour and finish. Record any differences between the sample process and bulk production.
- Production reference: Approve the sample and artwork version before production. Recheck affected parts after changes to dimensions, materials or functional components.
Sample fees, shipping and timing are quoted per project. A visual proof cannot replace physical checks.
Quotation, approval and production
Confirm the brief and quotation
Agree quantities by size and artwork, materials, printing, finishes, components, and any tooling or assembly charges.
Approve samples and files
Record the approved sample and artwork. Scheduling follows the required sample, artwork, deposit and order confirmations.
Produce and inspect
Agree inspection methods and acceptance criteria for materials, dimensions, print, appearance and relevant assembly or fit.
Pack and deliver
Production and transit times are assessed separately. Confirm the destination, transport arrangement and delivery responsibilities.
Related packaging options
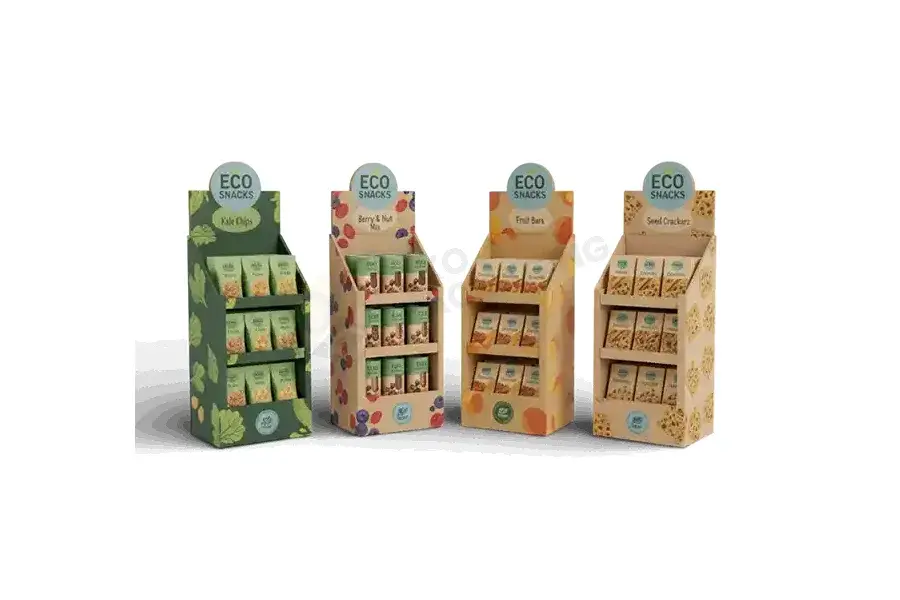
Custom Floor Displays
Freestanding floor displays group products within the store layout. Shelf arrangement, footprint and assembly depend on the product and store setting.

Custom Dump Bin Displays
Open dump bins hold loose or individually packed goods for selection. The opening height and interior must suit reaching and replenishment.
Custom Peg Hook Displays
Peg hook displays arrange hanging products on selected hook positions. Spacing must fit the packs and allow shoppers to remove them.
Compare Counter Display Boxes with related formats
| Option | When to consider it |
|---|---|
| Custom Counter Display Boxes | Present a defined assortment on a checkout or countertop within the available retail footprint. |
| Custom Floor Displays | Build a freestanding display around the retail footprint, merchandise and store assembly process. |
| Custom Dump Bin Displays | Use an open bin for merchandise customers can select from a loose assortment. |
Request pricing for counter display boxes
Send your product details, measurements, quantity per version and artwork direction to info@elevapack.com. Include the destination and any material, finish or assembly requirement you want us to review.
Custom Counter Display Boxes FAQ
Coordinate tray depth, header height and the replenishment method. A prepacked PDQ tray needs both a store-ready opening sequence and a transport arrangement.
Load the planned quantity and remove items from the front and back. Check visibility, access and the tray’s support after stock is partly depleted.
Specify counter footprint, front-wall height and the intended number of product facings. Keep the shopper-facing message visible above and around the loaded products. Compatible materials and finishes are confirmed in the quotation.
The standard MOQ is 500 pcs per style, size and artwork. Special materials, constructions or multi-component sets may require more. Combined orders are assessed individually; the quotation confirms the applicable quantities.