
Style reference. Size, materials and printing are customized for your order.
Custom Lid-and-Base Jewelry Boxes
Plan the lid presentation and product-holding base as two components.
- Style reference
- E61866
- Structure
- Lid-and-base jewelry box
- Dimensions
- Custom size, confirmed for your product
- Material
- SBS or kraft paperboard; grade and caliper to confirm
Size around your product.
Specify the base cavity, lid fit and overlap separately.
- L
- LengthThe longer side across the usable base.
- W
- WidthThe shorter side across the usable base.
- H
- HeightThe usable depth from the base to the closed top, or the open rim where applicable.
Quote the usable base cavity separately from the assembled outside size. Lid fit, overlap and material thickness need their own allowances.
Add your target size
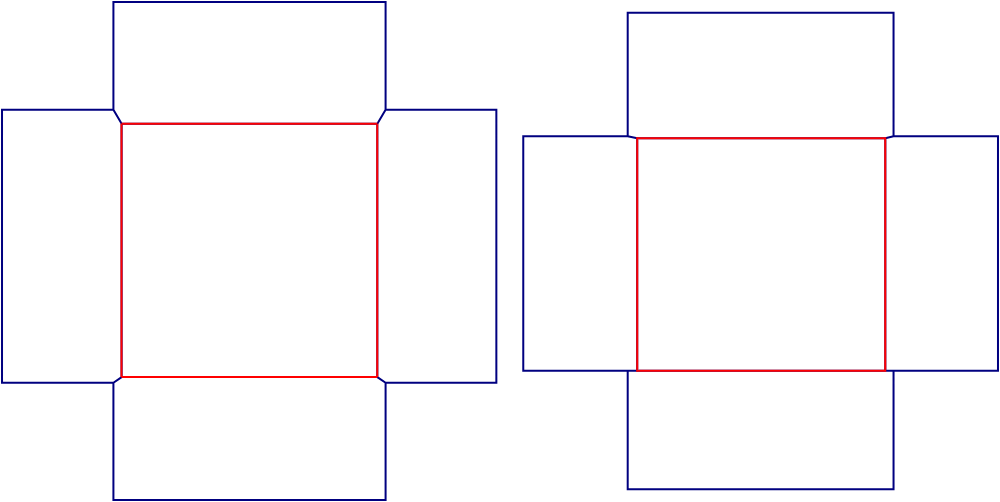
Your values appear on the diagram and in your inquiry. The reference drawing stays at its original proportions.
Design for the finished product.
Align lid and base artwork in the closed position.
Choose the main viewing surface.
Align lid and base artwork in the closed position.
Arrange the secondary information.
Use the lower or secondary visible surfaces for product details and supporting graphics.
- Align lid and base artwork in the closed position.
Check the design against the approved layout.
Specify the base cavity, lid fit and overlap separately.
- Align lid and base artwork in the closed position.
Prepare artwork on the approved production dieline at final size. Confirm bleed, print sides and safe margins before printing.
Request a production dielineTry your artwork on this reference
Select an area on the reference, add text or your logo, then adjust its direction and repeat pattern. Download a placement preview to include with your inquiry.
No target size added. Add your dimensions to include them in the preview.
Use the position fields as an alternative to dragging. Values are percentages of this reference image.
Loading the reference…
A placement concept, not a print-ready file. Confirm print sides, cutouts, glue areas and safe margins on your production layout. Your uploaded image stays in this browser.
- Keep the layers separate.
Place the dieline on its own reference layer. Keep it out of the printed artwork unless your production file instructions say otherwise.
- Check the reading direction.
Review logos and text in the finished orientation. Carry patterns across folds only after checking their alignment.
- Approve a physical reference.
Use the appropriate sample to check fit, opening and print position before confirming production.
Request a quote for this style.
Send your dimensions, quantity and artwork requirements for style E61866.
- Target size and measurement basis
- Quantity, product details and intended use
- Logo, artwork and finishing ideas
Need to check it in hand? Explore sample options ↗
Recommended sizes & materials for common products.
The layout has separate lid and base components. Size the contents and base first, then confirm lid overlap and removal clearance.
| Product & example size | Base cavity and separate lid fit | Material to consider | Selection & fit notes |
|---|---|---|---|
| Packed contentsInformation to provide: Complete arranged product outline |
Develop the usable base cavityConfirm for your product | SBS or kraft paperboard; grade and caliper to confirm | Include wraps, liners and any insert. |
| BaseInformation to provide: Assembled external dimensions and wall thickness |
Develop lid internal fit from the baseConfirm for your product | SBS or kraft paperboard; grade and caliper to confirm | The base cavity and lid outside dimensions are different. |
| Lid overlapInformation to provide: Desired overlap and opening access |
Confirm overlap on a physical sampleConfirm for your product | SBS or kraft paperboard; grade and caliper to confirm | Check removal clearance without assuming a fixed interference fit. |
| ArtworkInformation to provide: Visible lid and base surfaces when closed |
Specify component print areas separatelyConfirm for your product | SBS or kraft paperboard; grade and caliper to confirm | Align artwork in the closed reference position. |
This is a project-specific sizing brief, not a stock size or a measurement inferred from the reference image. Confirm the selected structure, substrate, clearances and assembled sample before production.
Discuss your size & material