
Custom Sleeve Boxes
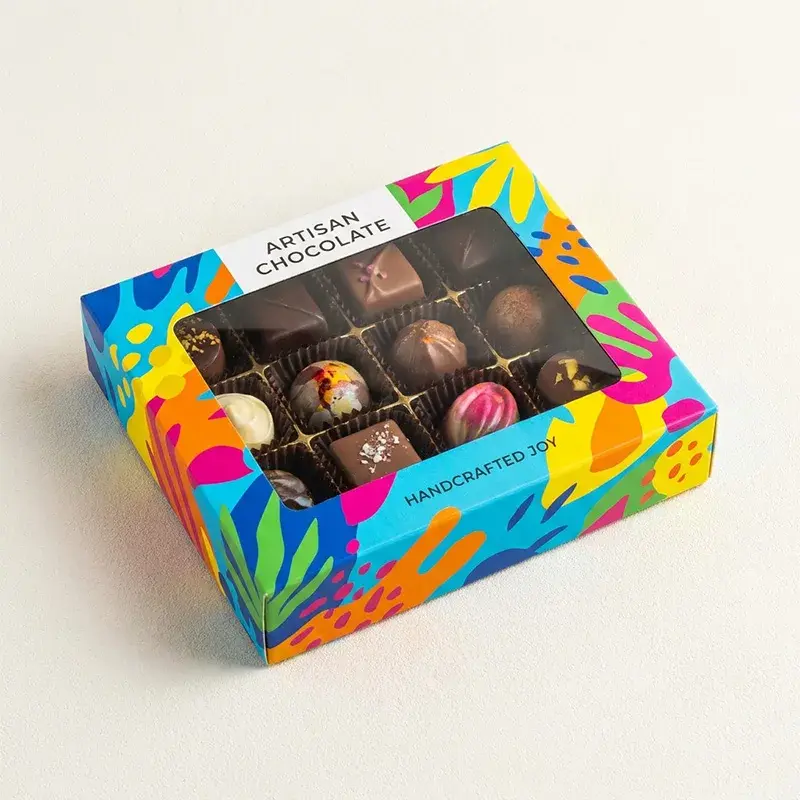
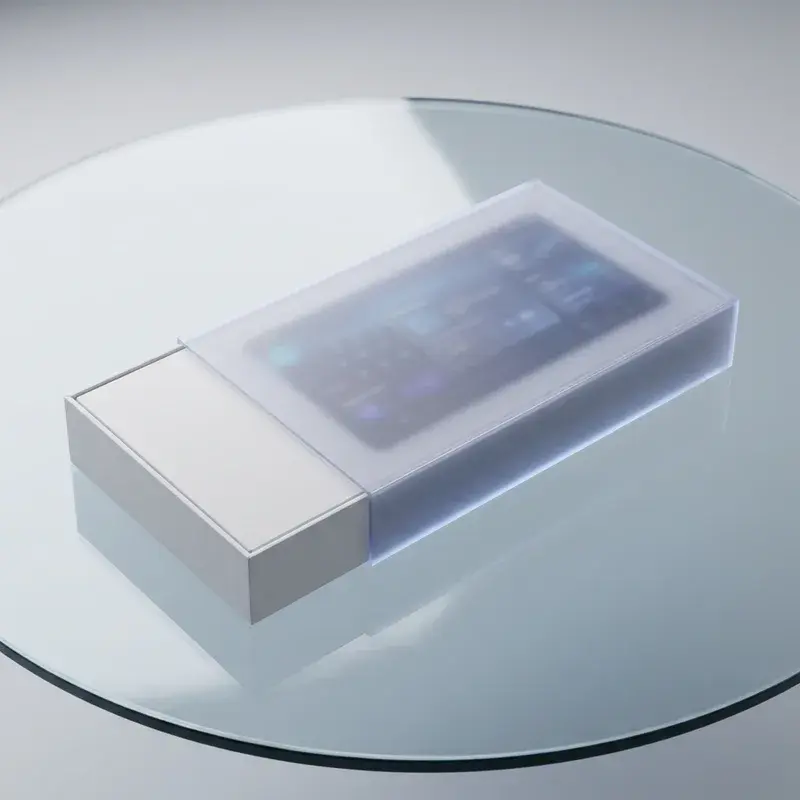
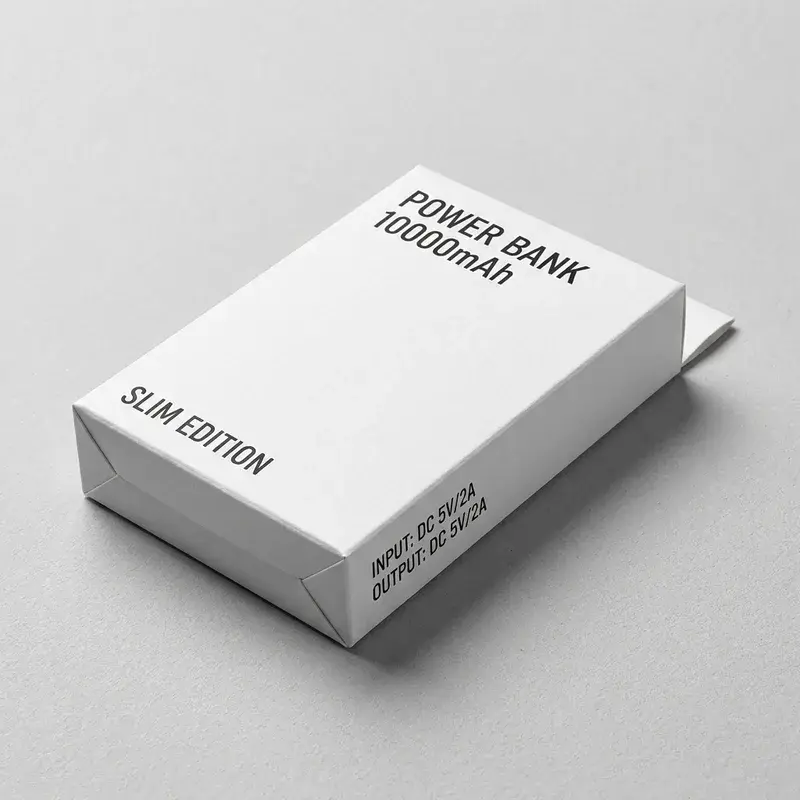
Printed sleeves slide over a product or inner tray. Coverage, sliding fit and the direction of removal define the finished presentation.
Standard MOQ: 500 pcs per style, size and artwork. Higher quantities may apply to special specifications. Sample timing and production timing are quoted for the project.
Specification for Sleeve Boxes
| Specification | Project input |
|---|---|
| Board grade and weight | Identify grade, GSM and thickness separately; review the selected board on the assembled carton. |
| Finished internal dimensions | State usable length × width × height and units, allowing for the product and any insert. |
| Base and tuck construction | Identify the opening direction and base assembly; check closing with the intended contents. |
| Print panels and glue seam | Mark the display face, artwork orientation, folds and glue area on the dieline. |
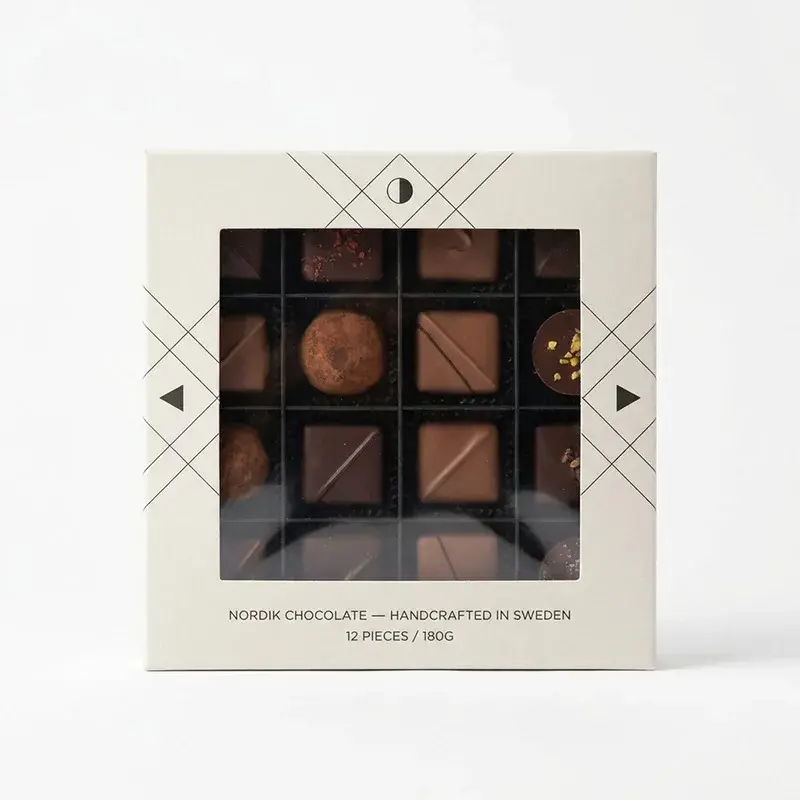
| Window or insert requirements | Specify visibility, retention and removal clearance together with the carton structure. |
| Quantity | Quantity per style, size and artwork design. Standard MOQ is 500 pieces; higher quantities may apply. |
| Artwork | PDF, AI or CDR artwork where available; JPG/PNG references and Excel specifications can support the brief. Files are reviewed for their intended use. |
| Delivery | Destination, target date and whether packaging should arrive assembled or flat, where applicable. |
Paperboard grades and folding
The quotation confirms the selected grade and compatible options.
| Material option | Specification and confirmation |
|---|---|
| SBS paperboard | Discuss a white printing surface for detailed graphics. Select the board weight and thickness with the carton size, folds and contents. |
| Kraft paperboard | Consider a brown paper appearance where it suits the brand. Review how the paper colour affects printed colours and white areas. |
| Recycled paperboard | Request a grade review where recycled content is part of the brief. Confirm the actual material and supporting information before making a claim. |
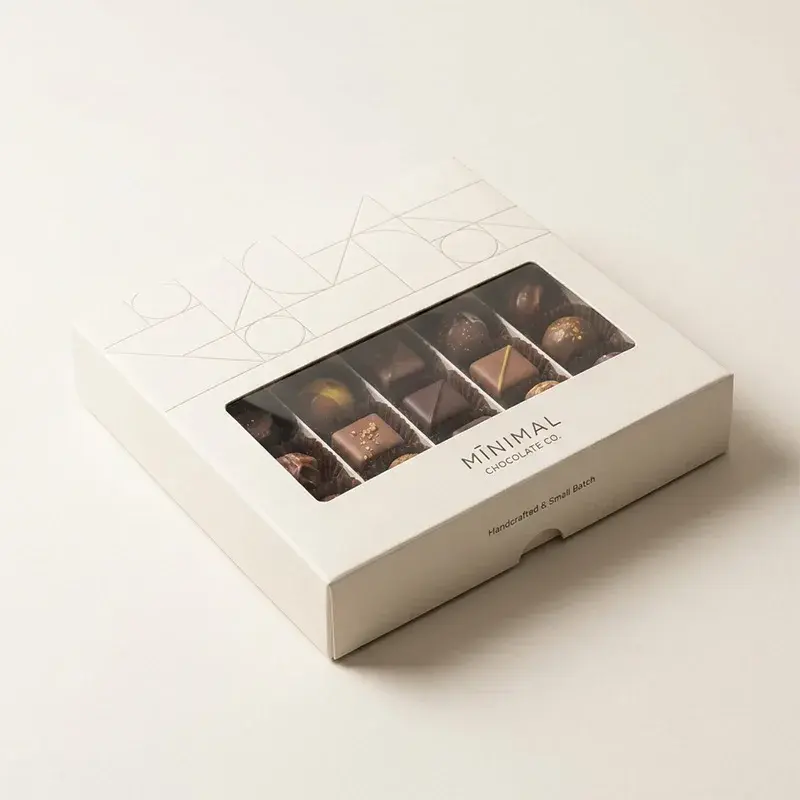
Perimeter, depth and sliding clearance
The wrapped product or tray perimeter, sleeve depth and sliding clearance.
- Measurement reference: Give units and label product, internal or external dimensions. Include a drawing or reference sample if available.
- Multiple sizes: List quantities by size. A size change may require a revised structure, artwork or sample.
Sleeve graphics and joining seam
Align the brand panel with the intended sliding direction and locate the glue seam.
| Print preparation | Specification and confirmation |
|---|---|
| Print areas | Mark printed faces, unprinted areas, text and codes. The material and order requirements determine the printing method. |
| Colour reference | Provide CMYK artwork or a Pantone reference where available. Approve colour on the agreed material and sample; screen previews show layout. |
| Files and versions | Send PDF, AI or CDR artwork if available; JPG/PNG references and Excel specifications or data can support the brief. Files are reviewed before production. |

Windows, inserts and finishing
Availability depends on the material, structure and intended use.
- Matte or gloss surface: Compare the desired appearance on the selected paperboard. Coating or lamination must work with the folds and glue areas.
- Foil, embossing or debossing: Mark the logo or feature to highlight. Review detail size, placement and the available space around creases before quoting the tooling.
- Spot UV or varnish: Identify the areas to highlight or protect. Approve the effect alongside the print and board rather than as an isolated colour sample.
Carton assembly and delivery
Specify the inner item and its finished surface before setting sleeve clearance. The sleeve must slide without excessive looseness or rubbing away the finish.
Specify an open-ended sleeve or the matching inner tray arrangement; check that the contents remain retained.
- Working layout: Send a drawing, reference or actual product. Identify fixed requirements and options to compare.
- Supply and assembly: Specify whether cartons arrive flat or assembled, which components are packed separately and how each artwork version is identified.
- Component matching: For a multi-part pack, list component sizes, assembly order and which parts the quotation includes.
Sample checks: sliding fit around the inner pack
Test insertion and removal in the intended orientation. A belly band covers less of the item; a drawer box provides a defined inner tray and outer case.
- Structural sample: Check dimensions, assembly, fit and opening or application with the actual contents where relevant.
- Printed sample: Check print areas, colour and finish. Record any differences between the sample process and bulk production.
- Production reference: Approve the sample and artwork version before production. Recheck affected parts after changes to dimensions, materials or functional components.
Sample fees, shipping and timing are quoted per project. A visual proof cannot replace physical checks.
Quotation, approval and production
Confirm the brief and quotation
Agree quantities by size and artwork, materials, printing, finishes, components, and any tooling or assembly charges.
Approve samples and files
Record the approved sample and artwork. Scheduling follows the required sample, artwork, deposit and order confirmations.
Produce and inspect
Agree inspection methods and acceptance criteria for materials, dimensions, print, appearance and relevant assembly or fit.
Pack and deliver
Production and transit times are assessed separately. Confirm the destination, transport arrangement and delivery responsibilities.
Related packaging options

Custom Straight Tuck End Boxes
Top and bottom tuck flaps open in the same direction on this folding carton. The layout keeps the opening experience consistent across both ends.
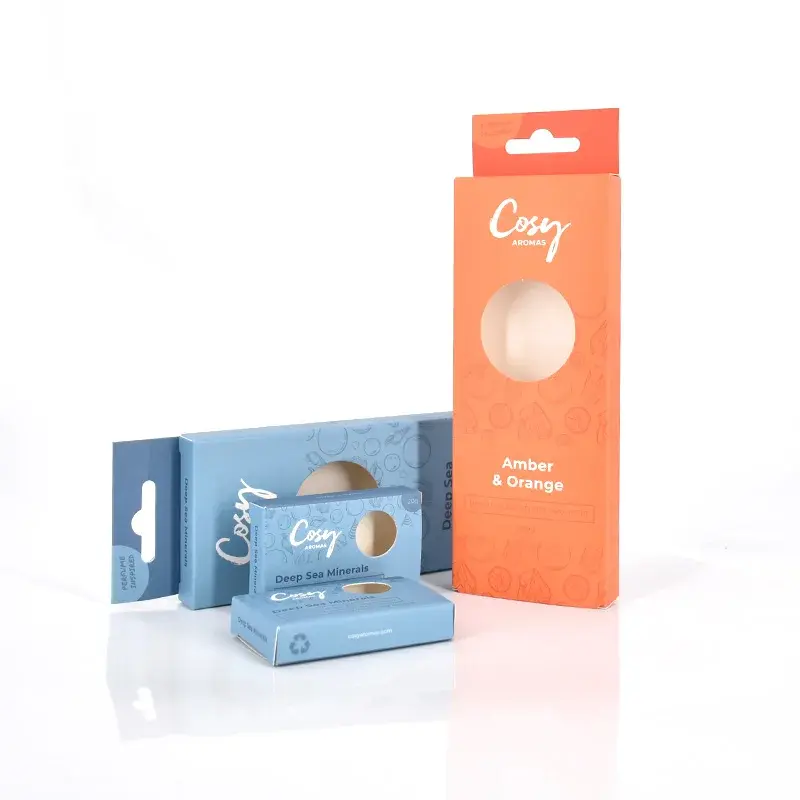
Custom Reverse Tuck End Boxes
Opposing top and bottom tuck flaps define the reverse tuck carton. Panel orientation matters when artwork continues around the carton.
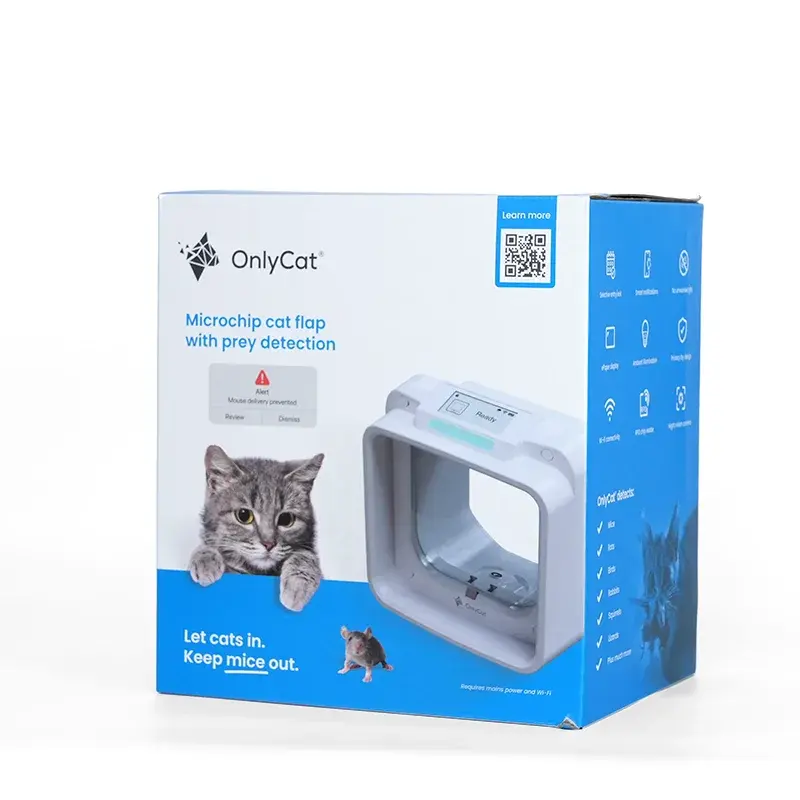
Custom Auto Lock Bottom Boxes
The pre-glued bottom forms as the carton is opened. This construction can simplify manual packing when the base fits the product and assembly method.
Compare Sleeve Boxes with related formats
| Option | When to consider it |
|---|---|
| Custom Sleeve Boxes | A sleeve adds branding around an inner tray, box or appropriately supported product. |
| Custom Straight Tuck End Boxes | Present both opening ends in a consistent direction; allow the front panel and tuck arrangement to work together. |
| Custom Reverse Tuck End Boxes | Choose opposing top and bottom openings when they suit the filling sequence and panel layout. |
Request pricing for sleeve boxes
Send your product details, measurements, quantity per version and artwork direction to info@elevapack.com. Include the destination and any material, finish or assembly requirement you want us to review.
Custom Sleeve Boxes FAQ
Specify the inner item and its finished surface before setting sleeve clearance. The sleeve must slide without excessive looseness or rubbing away the finish.
Test insertion and removal in the intended orientation. A belly band covers less of the item; a drawer box provides a defined inner tray and outer case.
Specify the wrapped product or tray perimeter, sleeve depth and sliding clearance. Align the brand panel with the intended sliding direction and locate the glue seam. Compatible materials and finishes are confirmed in the quotation.
The standard MOQ is 500 pcs per style, size and artwork. Special materials, constructions or multi-component sets may require more. Combined orders are assessed individually; the quotation confirms the applicable quantities.